After struggling with Microsoft Azure’s GPU VM’s for a few years, and hearing that Amazon’s AWS is not much better, I decided it’s time to have my own local deep learning machine.
One of my main reasons was that the cloud VM doesn’t have a display, therefore you can’t do anything visually. No big deal if you just train there and then run the model on a local computer but if you need to work on simulation-based robotics projects, those won’t run at all in a virtual environment.
I later found that not only building an almost state-of-the-art machine pays for itself in about 4 months, but it is significantly faster than a cloud server (mainly because of local data transfer speed, since everything is in the same box on the same bus, while the cloud service might have the compute units and storage in different racks — so even if the GPU is faster, it can’t get the data fast enough to benefit from that speed).
My system ended costing just under $3K (compare that to about $800/month you’d pay for an entry-level cloud GPU from AWS or Azure). That was in May 2019, and prices tend to vary a lot so it can be 10% lower and higher at any time. Also, by the time you read this technology might’ve already evolved.
You might ask why go to the pain of building the computer yourself instead of buying a high-end super-computer. It’s because ready-built deep learning systems are insanely expensive. But if you are still afraid to tinker with expensive components and are interested in a pre-built system, I found that Exxact sells some of the most affordable deep learning systems starting at $5,899 (2x NVIDIA RTX 2080 Ti + Intel Core i9) which also includes a 3 year warranty and deep learning stack. They are also recommended by another AI engineer, Jeff Chen.
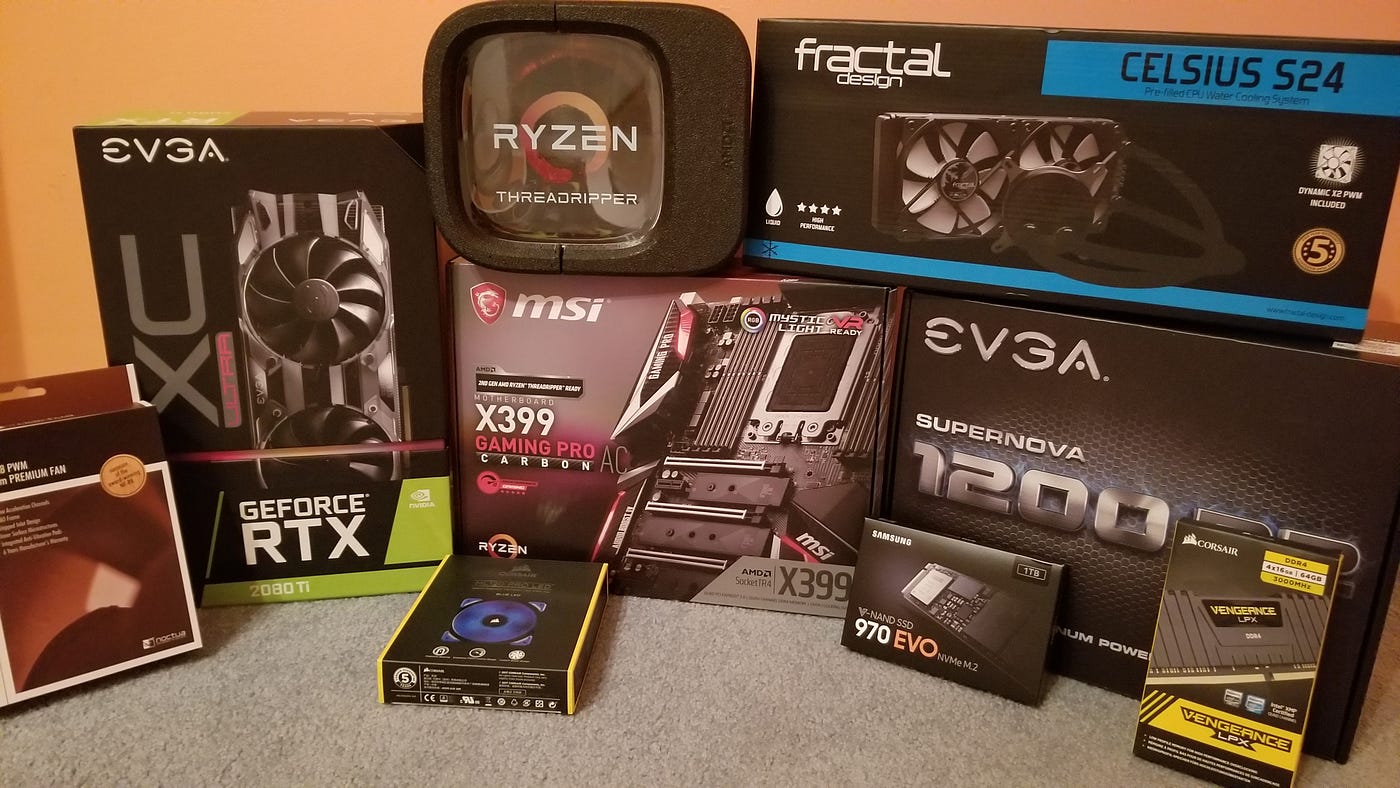
To make sure everything works together, I recommend using PC Part Picker. It will both show you the lowest price for each component, and ensure that you don’t pick incompatible parts. As for putting things together, YouTube rules. Just type the name of the component and you’ll find several very explanatory videos on how to install it. So now lets go over the components that are required:
CPU
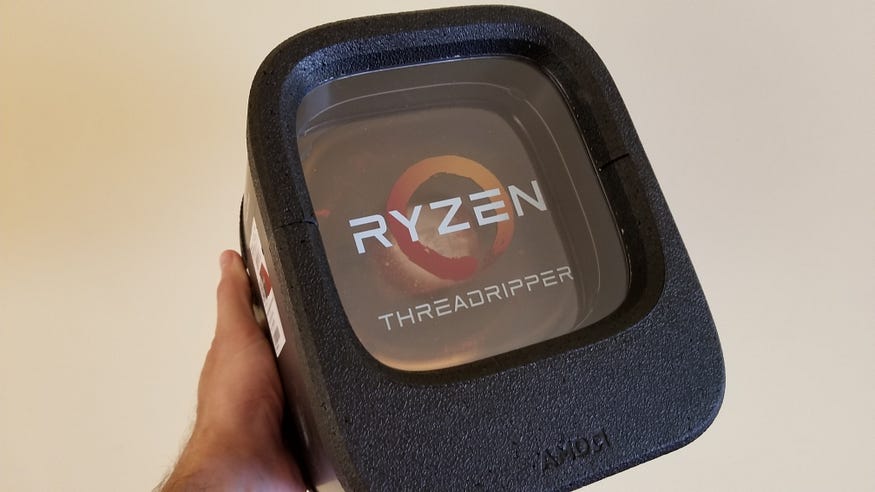
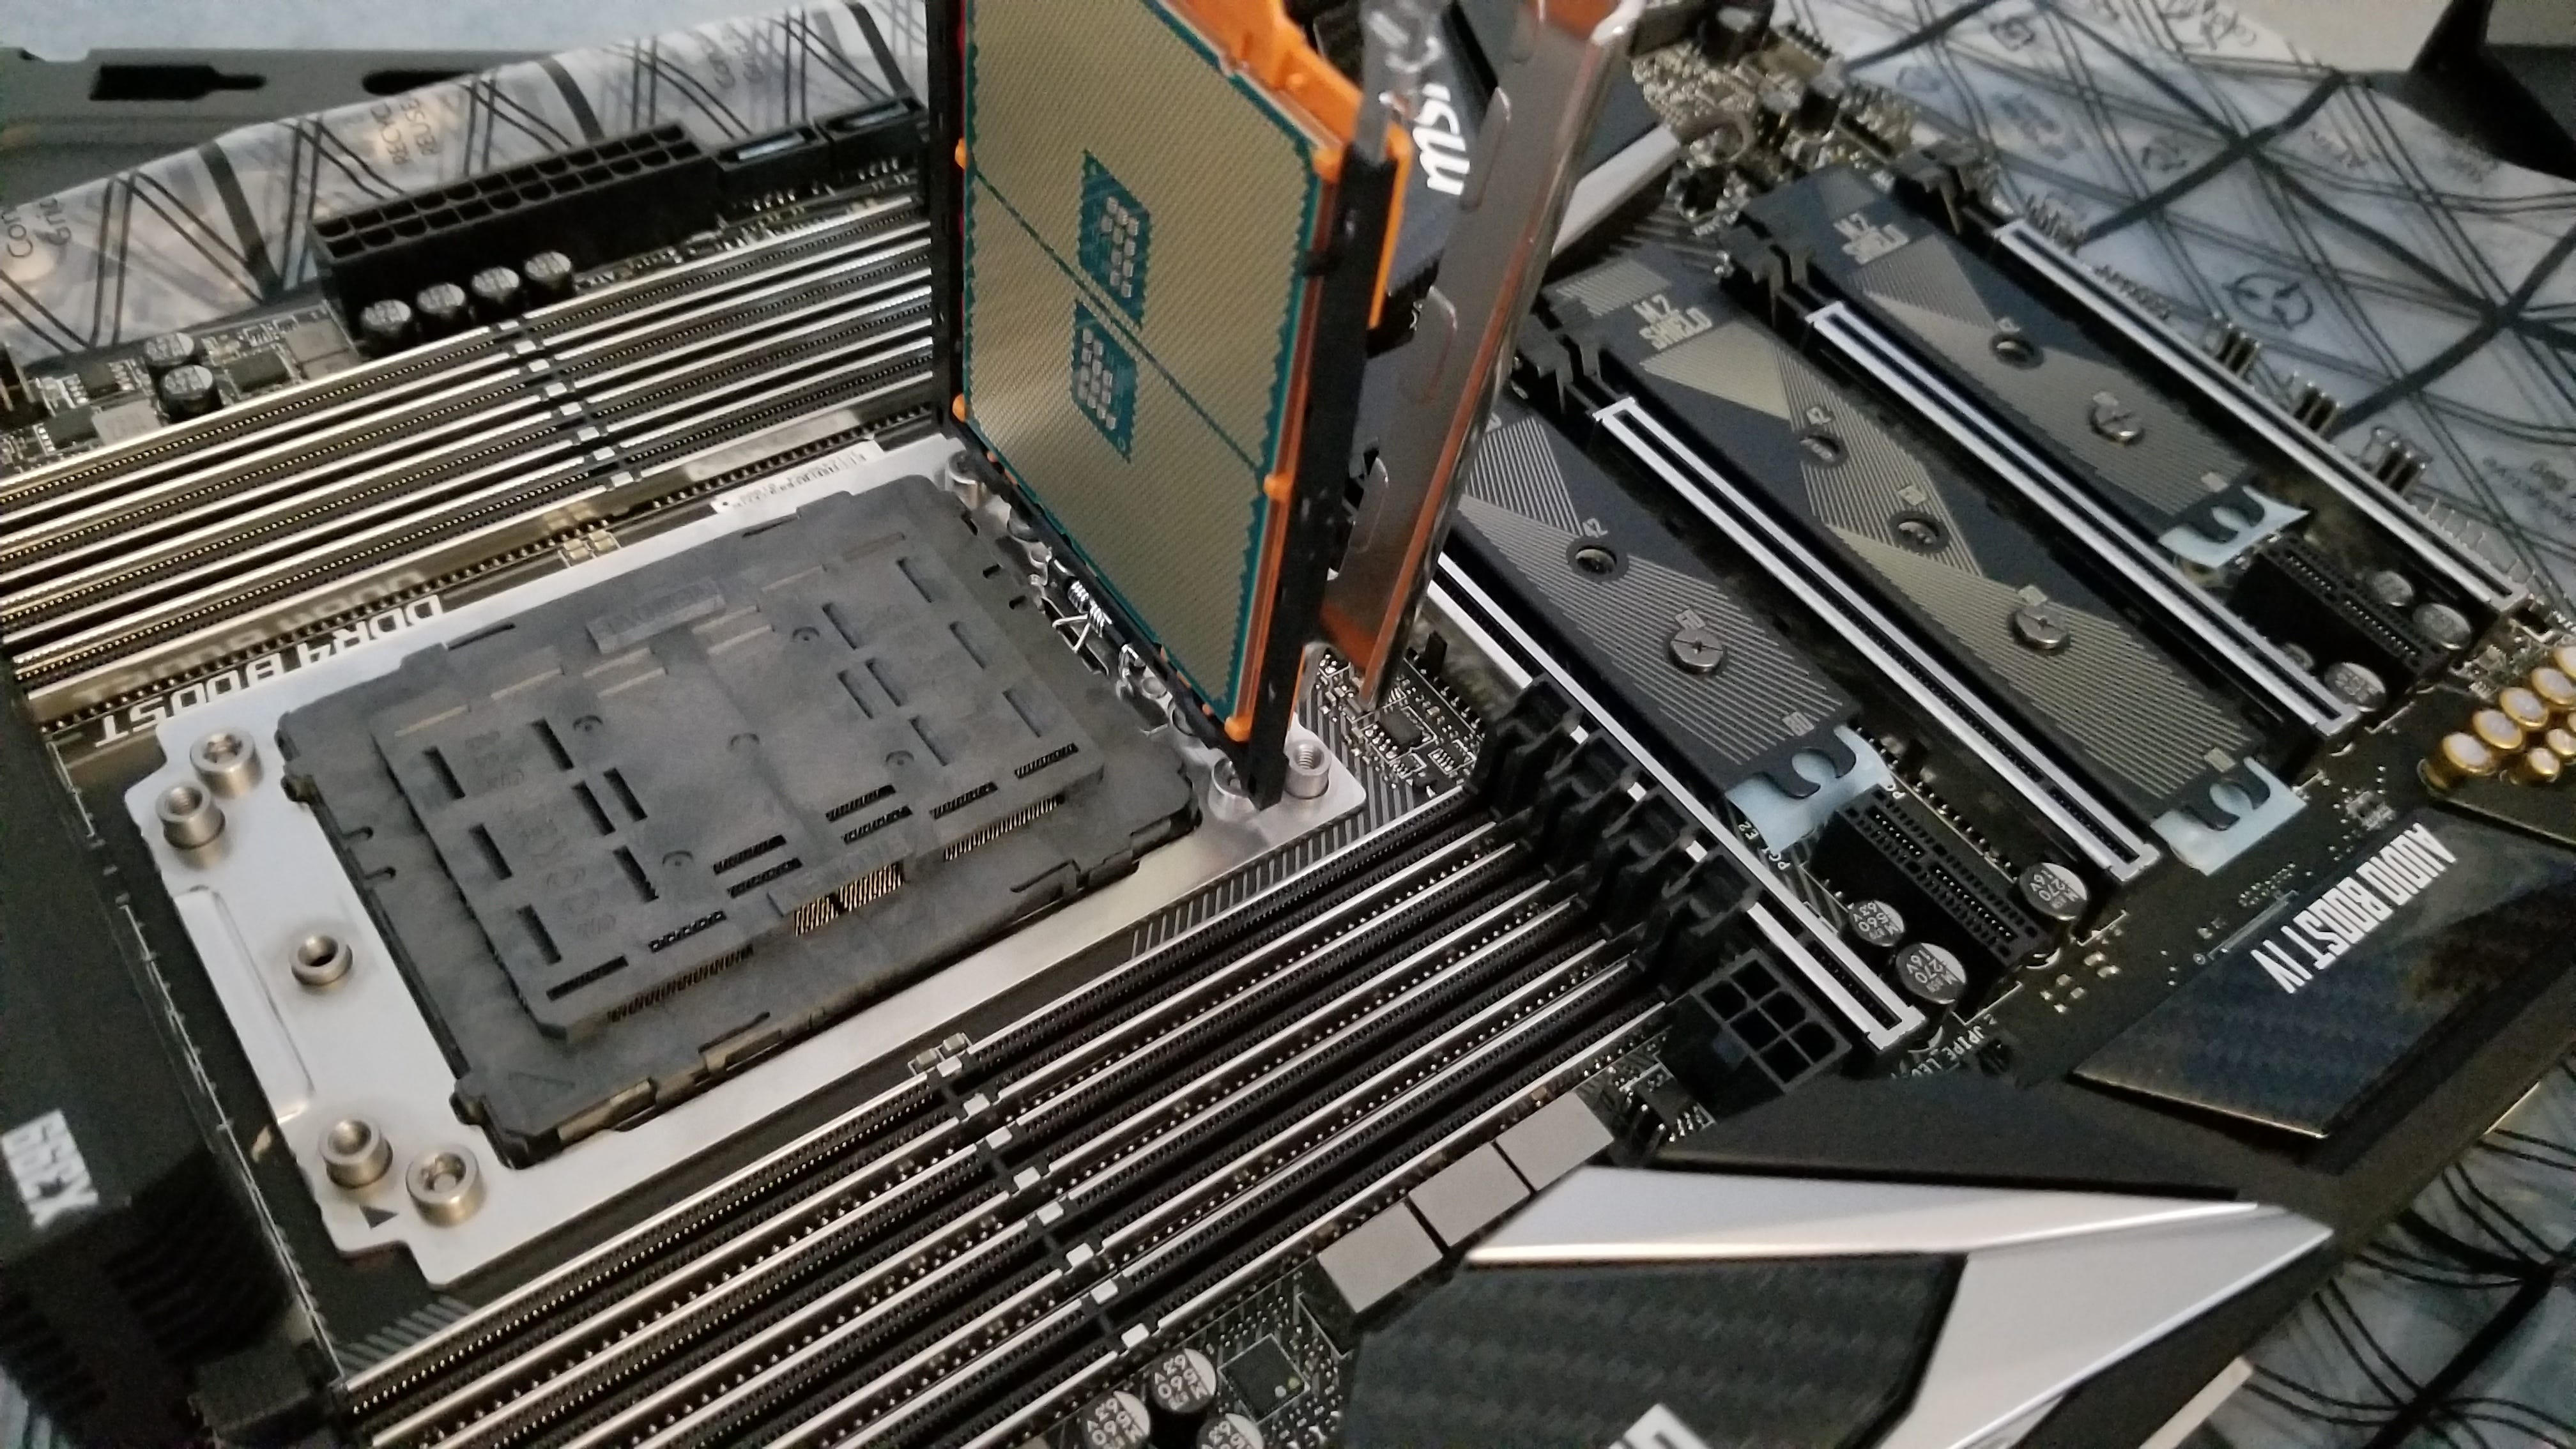
Here you’ll have to make a big choice: AMD or Intel. For my entire life I’ve been an Intel fan, but for this machine the CPU is not the most important part. That is the GPU. And Intel CPU’s can cost twice as much as the AMD counterpart. AMD’s new Ryzen line has very good reviews, and I don’t need to overclock it since I’m not playing video games with it. Therefore I went for the AMD Threadripper 1920x, which has 12 cores and 24 threads, more than enough for my case. It was reasonable priced around $350 but prices were dropping. The alternative would be the 10-core Intel i9–7900 at over $900.
CPU Cooler
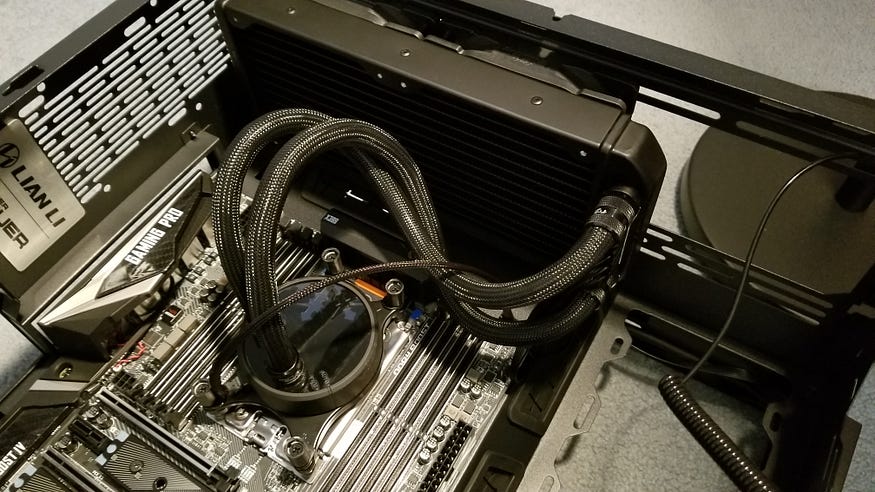
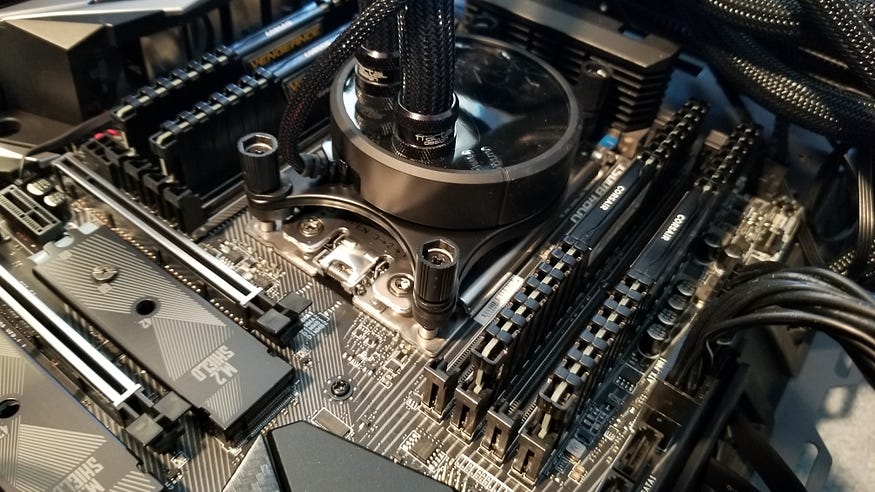
AMD CPUs have always ran very hot (one of the main reasons they weren’t that reliable). They still are, so you definitely need a liquid cooler. I went with the Fractal S24 which has 2 fans, at about $115. An alternative is the Corsair H100i.
Motherboard
The main choice about the motherboard is the chipset. The simple rule is: For AMD Threadripper, use X399. For Intel 7900, use X299.
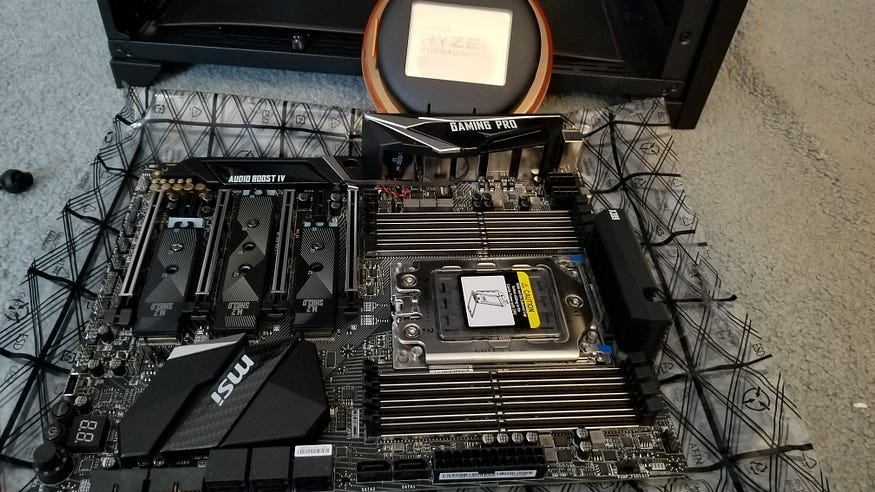
Based on reviews, I went with the MSI X399 Gaming Pro Carbon AC, which has everything I needed for deep learning. You’ll find it at just over $300. Other good alternatives are the Asus ROG, Gigabyte Aorus and Asrock Taichi (just make sure it has at least 40 PCIe lanes). You have to make sure the board design accomodates the size of the GPU, and maybe adding multiple GPU’s. The MSI one has plenty of room, and everything is well placed.
GPU
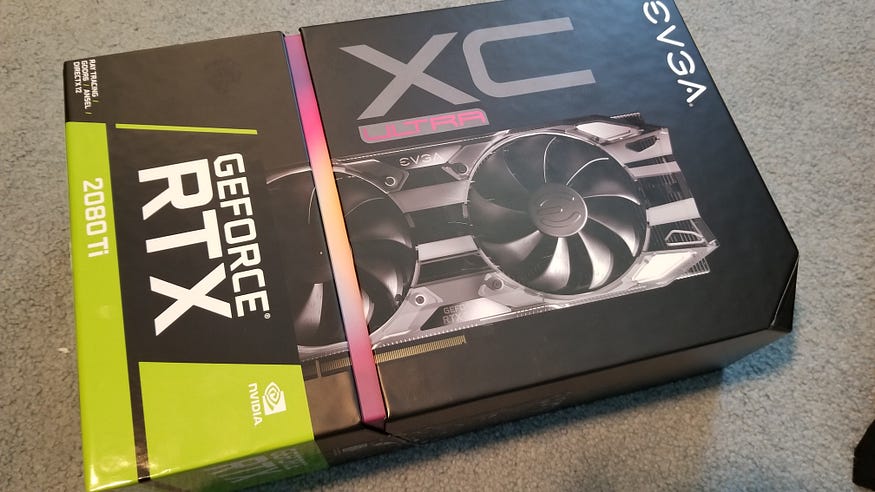
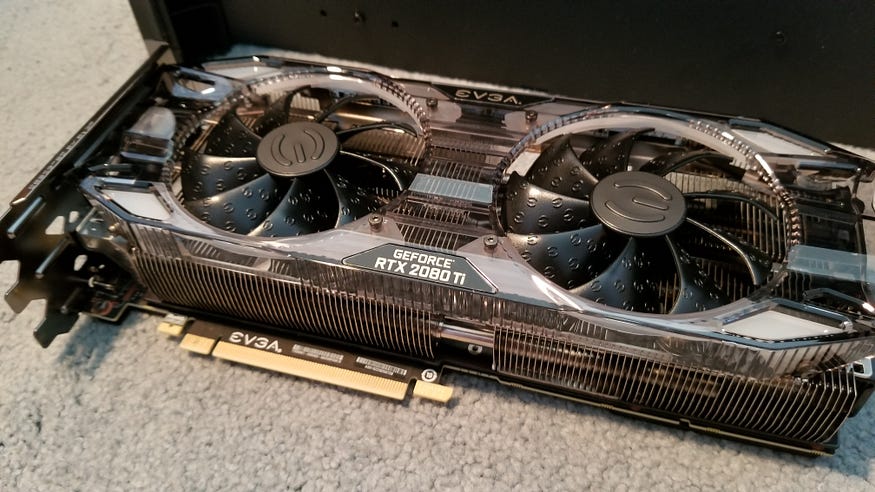
Now this is the most important component of your deep learning system. You have to go with an Nvidia GPU, and the minimum recommended is the GTX 1080 Ti. Unfortunately, when I was looking, that was impossible to find at its regular price of about $800 (blame gamers? crypto miners?). So I had to go to the next level, the RTX 2080 Ti, which is not easy to find either, but I was lucky to get on an excellent $1,187 deal from EVGA. RTX is the newer generation, with one of the best performance among early 2019 consumer GPU’s. I’m glad I was “forced” to make that choice. If you look around, you might still find deals around $1,200. I think EVGA and Gigabyte are the top manufacturers, and the choices you make are about the cooling system. The EVGA RTX 2080 Ti XC Ultra has dual air coolers and that proved enough so far, it never got to critical overheating.
Memory
For the configuration above, DDR4 is the best choice. Corsair is probably the main manufacturer. And it’s 2019, you need 64Gb. So I ended up with 4x16Gb Corsair Vengeance LPX DDR4. I paid $399 but prices are dropping dramatically, they’re well under $300 by now.
Hard-Drive
SSD is old tech by now. The state-of-the-art is the M.2 standard, and that drive plugs right into the motherboard into a PCIe slot. Going at the main bus speed, this is basically a high-capacity, persistent memory chip. I really liked the 1Tb Samsung EVO SSD M.2. I paid $241 but prices for this also went down towards $200. If you need more storage, you can add a regular SSD drive which should be less than $100.
Power Supply
PCPartPicker will make sure you pick a power supply big enough for your system. There are also other online wattage calculators. With one GPU you probably won’t get close to 1,000W but if you plan to add a second GPU, then you need 1,200W to be safe. EVGA is a solid manufacturer and I picked the EVGA SuperNOVA P2 Platinum 1200 which is around $250.
Case
There are plenty of options here, and it might come down to personal preferences and design, but it’s important to make sure it’s big enough to fit all the components in without being cramped, and to have good air circulation. I went with the Lian-Li PC-O11AIR at $114 because it fit those requirements. It’s very roomy, everything is well placed inside, and there’s good cooling.
Additional Cooling
After you’re done with your build, you might want to add additional fans to improve the air flow. My case came with several fans, but I got additional ones, to fill almost every mounting location. It can never get too cold in a GPU machine that’s gonna crank up convolutional networks. I got an 80mm Noctua for the back, and also a regular 120mm Corsair that I added on top. And yes, I got theRGB one. I didn’t care much about bright shiny colors in my case (since it’s under the desk anyway), but in the end I gave in and bought a cool fan.
Assembly
Like I said, search for each component on YouTube and you’re sure to find detailed walkthroughs about installation. As an example, here are a few that I followed: a build similar to mine, a walkthrough of the MSI X399 motherboard and its components, and a focus on the Threadripper mounting. And read all the installation instructions in the manuals. For example, be careful about the slot locations of the memory units.
Basically, the order of operations is this:
First, prep the case, install the power supply and pull the power cables. Then prep the motherboard, install the CPU and then the M.2 drive. Mount the motherboard in the case and add the CPU cooler. Then add the other fans and connect the power and button / lights wires. Finally install the memory modules and the GPU.
After you’re done and you power up the system, finish with cable management and optimize cooling. For example, I ended up removing most dust filters that were covering the fans. I made an intense GPU-heavy test protocol (training a Yolo model) and kept moving fans around until I got the lowest temperatures.
Software Installation
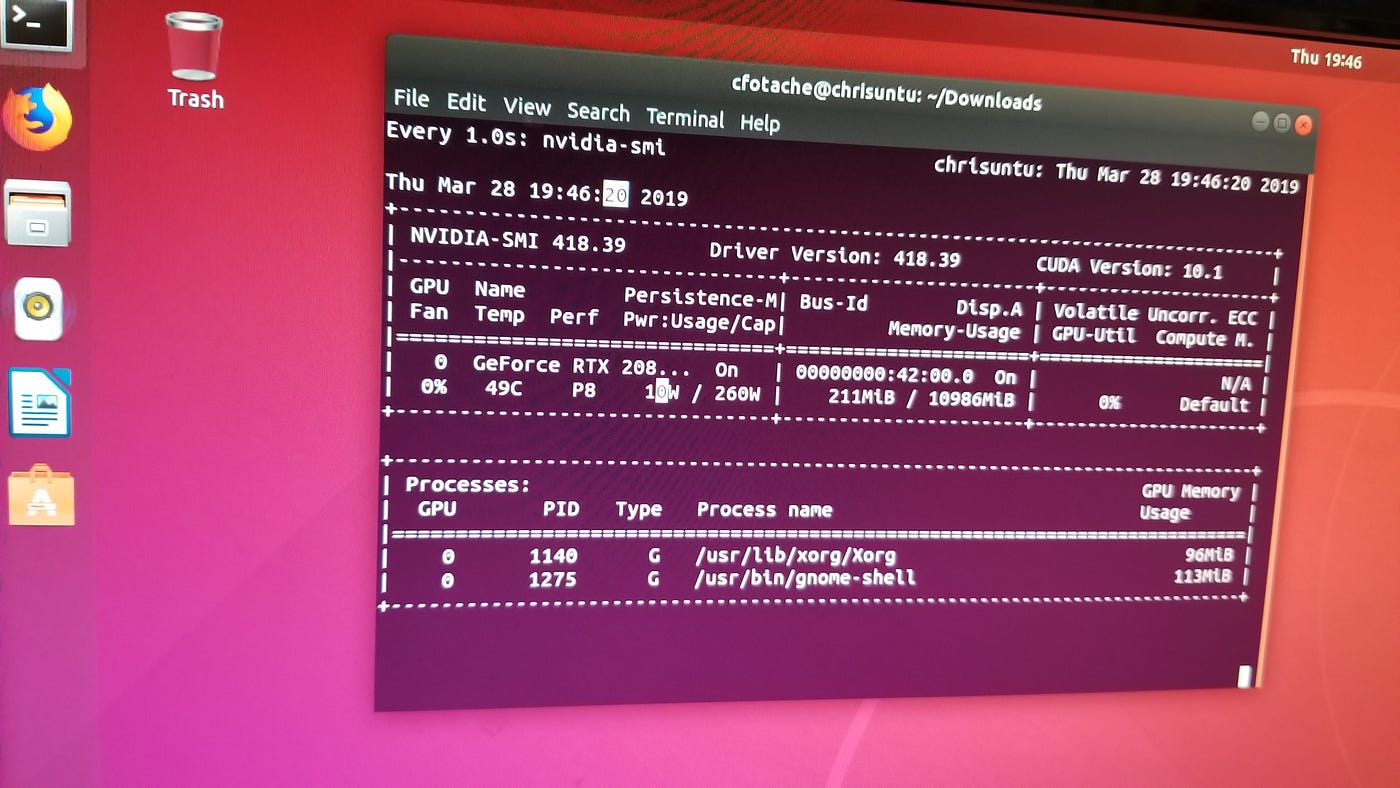
That’s where the fun really begins, but it’s not the focus of this story. Spring of 2019 — you’ll probably go with Ubuntu 18.04, the Nvidia drivers for your GPU version (do that quick, or the display will pretty much suck), CUDA 10, and then whatever frameworks you use (PyTorch, Tensorflow, etc). And enjoy higher speeds than any cloud GPU you’ve tried at a one time price that pays off in a few months.
Component List
Here’s my parts list, with the prices from April 2019. You can also see updated prices on my PCPartPicker list.
CPU: AMD Threadripper 1920x 12-core ($356)
GPU: EVGA RTX 2080 Ti XC Ultra ($1,187)
CPU Cooler: Fractal S24 ($114)
Motherboard: MSI X399 Gaming Pro Carbon AC ($305)
Memory: Corsair Vengeance LPX DDR4 4x16Gb ($399)
Hard-drive: Samsung 1TB Evo SSD M.2 PCIe ($241)
Power: EVGA SuperNOVA P2 Platinum 1200W ($249)
Case: Lian-Li PC-O11AIR ($114)
This article has been published from the source link without modifications to the text. Only the headline has been changed.
Source link


