[ad_1]
Introduction
If you want simple guide to walk you through entire process of creating Viber bot with NodeJS you are on right place.
This will be simple bot that will greet users on subscribe and reply them same message every time. At the end of tutorial I will attach link to official documentation where you can find more details about Viber API.
This tutorial will consist of the following:
- Create Public Account
- Create Bot Account
- Create NodeJS Application
- Create Tunnel with Ngrok
- Run application
1. Create Public Account
Registration
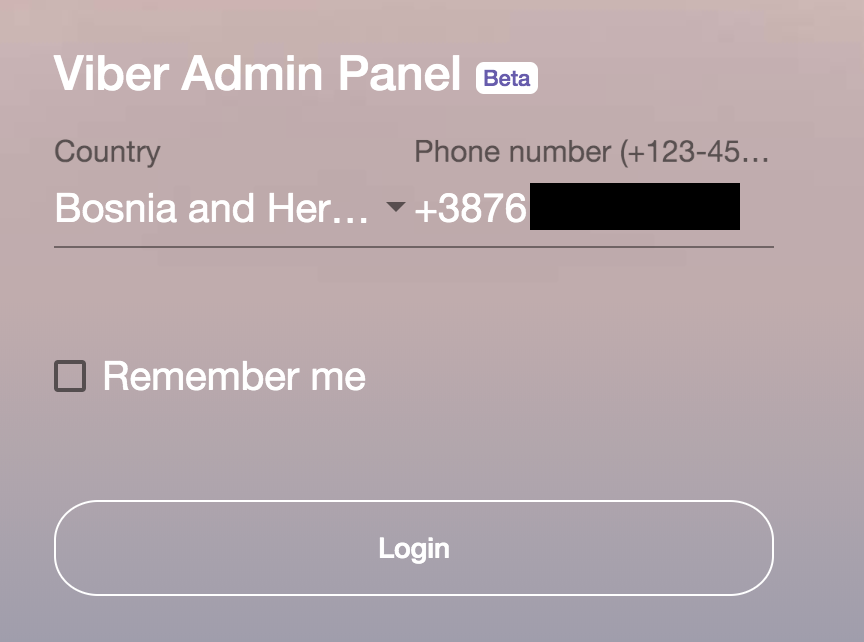
To create Public account you will to be Viber user and to enter your phone number on following link.

Top 4 Bot Tutorial
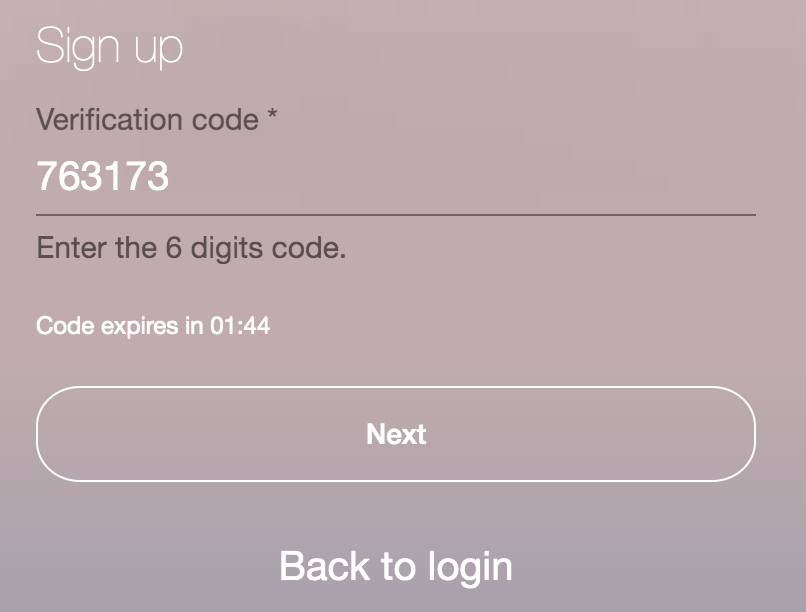
After entering your number you will get Viber message with verification code which you need to enter within 2 minutes.

2. Create Bot Account
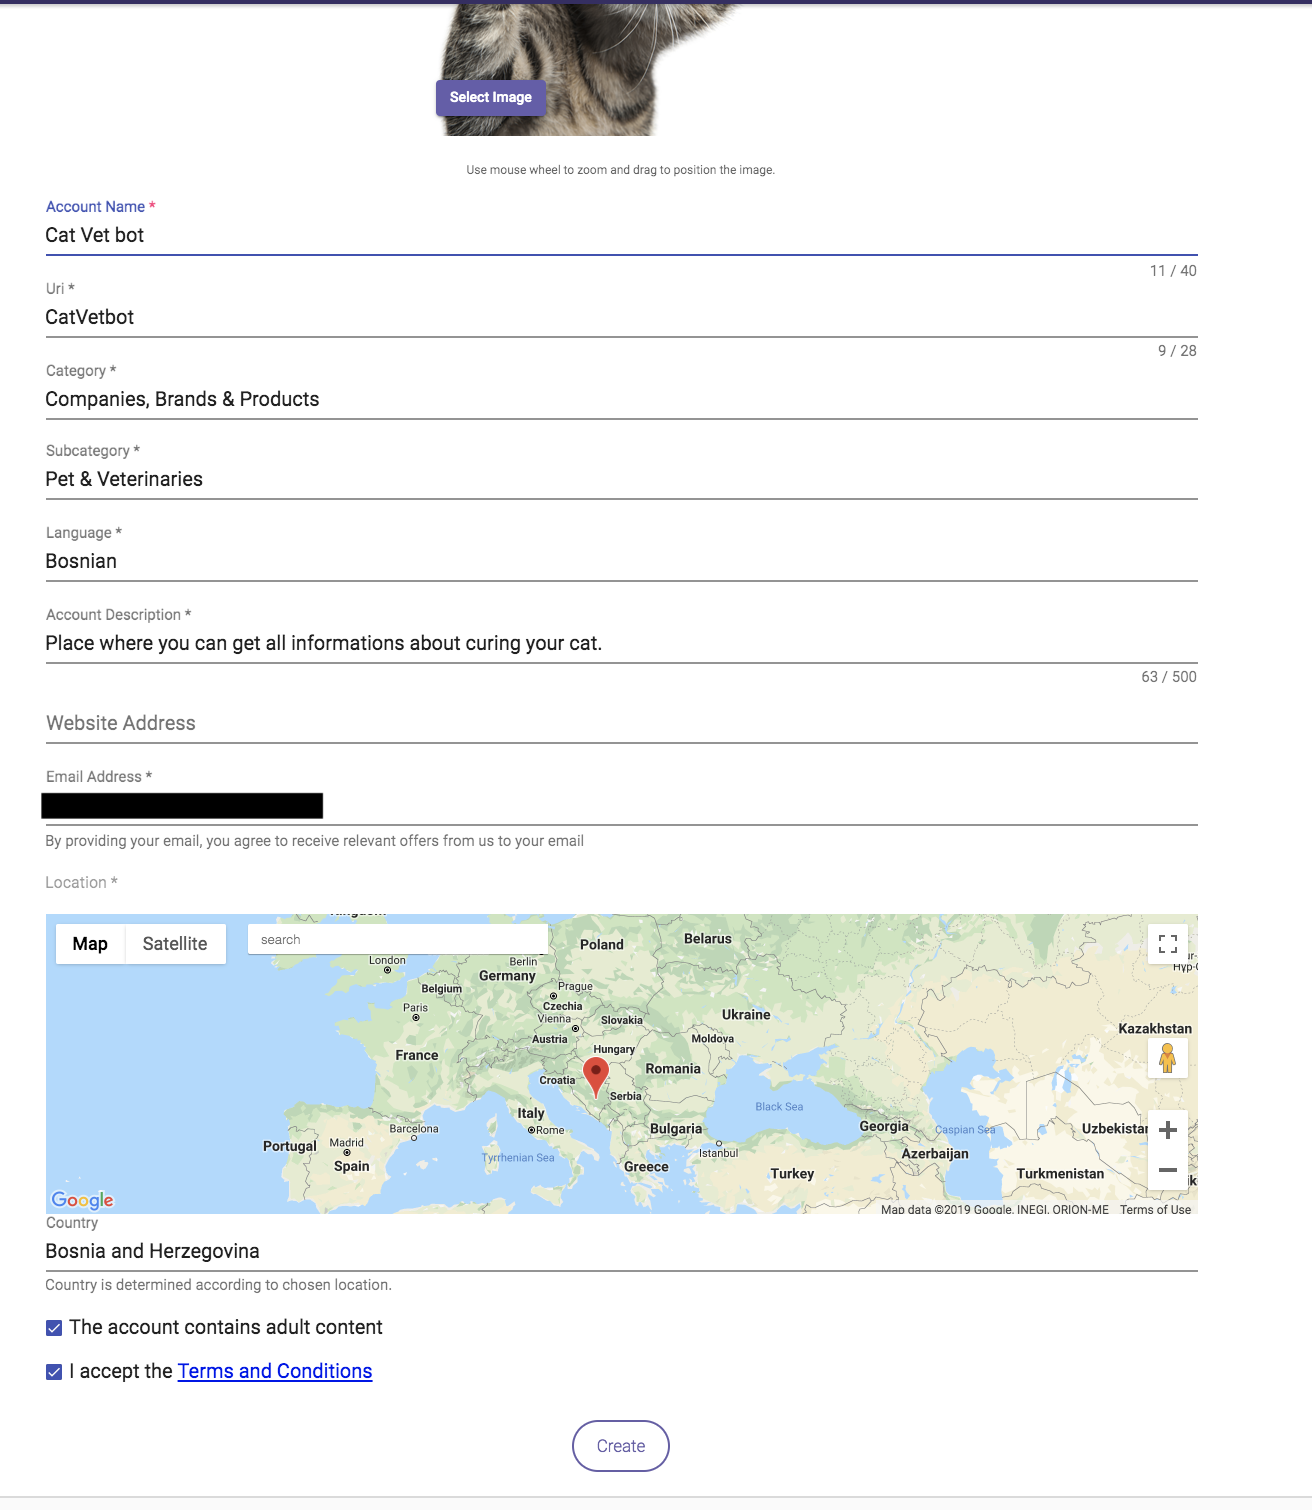
When you are done with creating public account next step is to create Viber Bot. It is pretty straight forward process which can be done within few minutes. After you click on “Create Bot Account” which will be shown on left sidebar you will be prompted with form below:

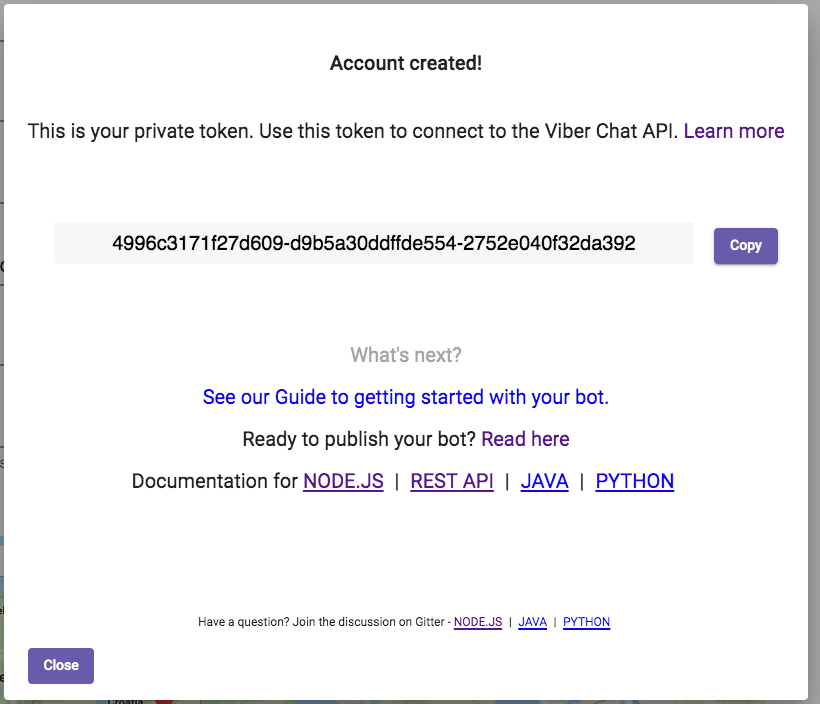
If entered data is acceptable you will be prompted with modal below. You should keep your Access Token private but it will be shown here for the sake of the tutorial.

3. Create NodeJS Application
Last step to make use of Viber bot is to create NodeJS application. This blog will lead you step by step to successfully create simple working application.
Create empty folder
If you are on OSX/Linux user you can use following bash command to do it
mkdir viber-cat-vet-bot
cd viber-cat-vet-bot
Initialise package.json
To create package.json run following command:
npm init
Press enter multiple times to accept all default. It should be fine for test project.
Create index.js:
touch index.js
Install dependencies
For this project you will need express and viber-bot installed. You can install it by issuing following command:
npm i --save express viber-bot
Include modules and create Express application
In index.js file include following code:
const ViberBot = require(‘viber-bot’).Bot,
BotEvents = require(‘viber-bot’).Events,
TextMessage = require(‘viber-bot’).Message.Text,
express = require(‘express’);
const app = express();
Check for environment variables
If any of following environment variables is missing app should terminate.
if (!process.env.BOT_ACCOUNT_TOKEN) {
console.log(‘Could not find bot account token key.’);
return;
}
if (!process.env.EXPOSE_URL) {
console.log(‘Could not find exposing url’);
return;
}
Create bot
const bot = new ViberBot({
authToken: process.env.BOT_ACCOUNT_TOKEN,
name: "Cat Vet Bot",
avatar: "https://upload.wikimedia.org/wikipedia/commons/3/3d/Katze_weiss.png"
});
bot.on(BotEvents.SUBSCRIBED, response => {
response.send(new TextMessage(`Hi there ${response.userProfile.name}. I am ${bot.name}! Feel free to ask me anything.`));
});
bot.on(BotEvents.MESSAGE_RECEIVED, (message, response) => {
response.send(new TextMessage(`Message received.`));
});
const port = process.env.PORT || 3000;
app.use("/viber/webhook", bot.middleware());
app.listen(port, () => {
console.log(`Application running on port: ${port}`);
bot.setWebhook(`${process.env.EXPOSE_URL}/viber/webhook`).catch(error => {
console.log('Can not set webhook on following server. Is it running?');
console.error(error);
process.exit(1);
});
});
4. Create Tunnel with Ngrok
If you want to set Webhook and receive updates you will need create secure tunnel from public endpoint to locally running application. For such purpose we can use Ngrok- a reverse proxy that creates a secure tunnel from a public endpoint to a locally running web service.
Install Ngrok
npm i -g ngrok
Expose port
You must choose port on which your application is running locally. In my case it is 3000.
ngrok http 3000
If everything goes well you should report like this:
ngrok by @inconshreveable (Ctrl+C to quit)
Session Status online
Session Expires 7 hours, 59 minutes
Update update available (version 2.3.27, Ctrl-U to update)
Version 2.3.15
Region United States (us)
Web Interface
Forwarding -> http://localhost:3000
Forwarding -> http://localhost:3000
Connections ttl opn rt1 rt5 p50 p90
0 0 0.00 0.00 0.00 0.00
In this case will be used as EXPOSE_URL environment variable. You have to use SSL protocol for this, plan HTTP can not be used.
5. Run application
If you followed all steps from this tutorial you should be able to run application successfully by issuing following command:
BOT_ACCOUNT_TOKEN=4996c3171f27d609-d9b5a30ddffde554-2752e040f32da392 EXPOSE_URL=https://1d987049.ngrok.io node index.js
Conclusion
In this tutorial I tried to give you main idea on how easy it is to create Viber bot that can be use for various purposes in real world scenario. If you have any question feel free to add it in comments.
[ad_2]


